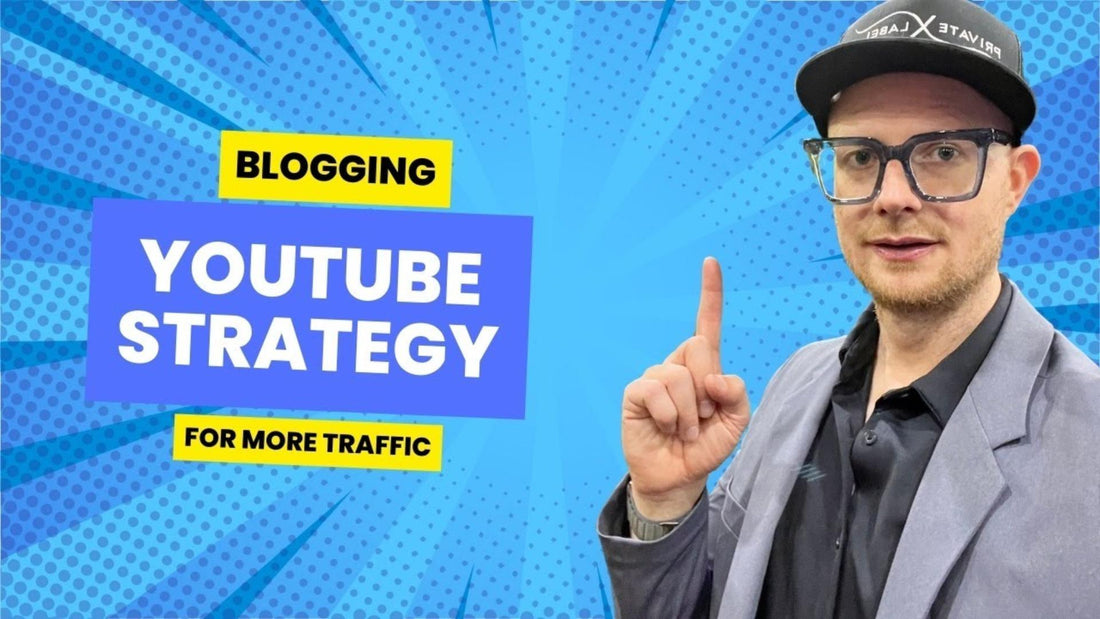
My Blogging YouTube Strategy for More Website Traffic
Share
Sometimes you can feel you can get all your knowledge about your business into one video.
Sometimes you feel like a video a day is not enough.
Once you come up with an idea, it’s precious to let it go.
Some content creators repost the same idea numerous times because it got them fame for the first time.
But today I’ll share my blogging strategy. It’s not just a good fit for the hair business but across most of the e-commerce industries.
In the last couple of months, I was able to repurpose my YouTube videos into blogs.
So, with one topic, I won two platforms, how is that?
Step 1: Create YouTube Content
You all noticed for sure my live videos, either early in the morning or late at night.
YouTube might be my favorite platform to promote myself.
Because it’s a little far away from the products and the price tags.
Promoting your brand through YouTube will give you enough time to demonstrate the philosophy behind what you do.
That doesn’t only give you respect for your job but also your audience.
People think marketing is based on pricing, placement, and some social media techniques.
So, it becomes more like advertising.
However, marketing in its essence, is a prolonged story about what drives your business to solve the status quo and how it interacts with that.
Which makes education via content the perfect way to storytelling.
Step 2: Write a Recap of the Videos
If you have time for only shooting the videos.
You can reach out to a freelancer to help you with this step.
I prefer Upwork over most freelancing platforms, it has some talent, and it’s kind of reliable.
As soon as you pick a writer, you can make a blog yourself for the first time.
Because no one knows your business and you’re branding more than you.
And share it with him for a better understanding of the project.
Then you can create a workflow that once a video is finished, a blog is created, then posted to your Shopify.
We use Google search to get a solution that might end up buying a product, a service, or DIY content to do at home.
The more inclusive and educational is your website. The more people visit it, the more Google ranks it up.
So, with the same piece of content, you gave some attention to your brand, and some traffic for your website.
Step 3: Create Blog Posts
It is not over yet.
You need to set up a date between the websites you’re using.
So, for every word mentioned in your blog post, add the link suitable for it.
It starts a conversation between the sites and adds up popularity.
That helps with SEO, as sometimes I refer to the less powerful websites I own, in the more powerful ones.
Not for external links only, but also for internal linking between your blog posts.
In case you skimmed a topic without talking deeply into it, you can link the thorough article for people who are looking for more information.
You would want to schedule a few blogs ahead. It keeps the traffic flow steady.
And you can be diverse with your blog topics.
To target those who are looking for tutorials to wear and take care of the products, at the same time people looking to buy products.
Step 4: Embed YouTube Video
Your virtual assistant can help you with that.
Adding the YouTube video makes the blog valuable and relevant.
Anyone who reads but prefers visual education can benefit from this.
And again, it helps your YouTube channel and website dramatically at the same time.
You can get that link by sharing the video, clicking the embedded link, and editing that into the article.
Step 5: Add Subscribe Button
It’s an easy hack to get prospects to subscribe to you without the trouble of necessarily going to YouTube.
I use this helpful tool from YouTube > Subscribe Button > Configure a Button
Then you just enter your channel ID.
Copy the code and put it under the embedded video on your blog editor.
And that’s simply adding this little button with enormous power to your blog post.
Step 6: Be Consistent
The day you drop off the progress, the next day you will be starting all over again.
For Hair Biz Radio I spent 7 years before getting viral.
Patience and hard work count eventually.
So, keep doing what you do even for 5 minutes a day.
Step 7: Review SEO After 3 Months
After 3 months, I’ll head back to these articles.
Use the free Google Search Console or any other SEO tool.
You can see what keywords your blogs got ranked for.
You can write more on these topics and enrich them in your articles.
It’s like a little content audit to see what is working and what’s not.
But as a beginning, write one article a week to get on track, then work yourself from up there.

